Photos are everywhere on the web, on every website and especially on social media platforms where you can scroll photos indefinitely. Therefore, it is important to keep in mind that quality visuals are crucial for your digital marketing success. Those images are often the first thing that visitors will see on your website or social media.
If your images aren't displayed correctly, with low quality or wrongly sized, it will affect your brand or the message you wanted to deliver to your audience. Moreover, image size also matters a lot in page load speed. For example a lightweight resized image will load quicker on your blog or your website and will rank higher on Google (SEO Optimization).
Either resize your images with the size of your choice keeping their aspect ratio or resize photos applying preset format to get the perfect image post size for Facebook, a profile image for LinkedIn, a banner for Twitter, or a thumbnail for YouTube.
With Pixelixe, you can resize images for social media, web, print, and/or any other format directly from our online graphic editor.
If you need to make a picture smaller, either vertical or horizontal, our online photo resizer feature will help you to adjust the size and dimensions of any photo in one click.
To upload your image or photo, you just have to drag it from your computer and drop it in the "drop" area in Pixelixe Studio.
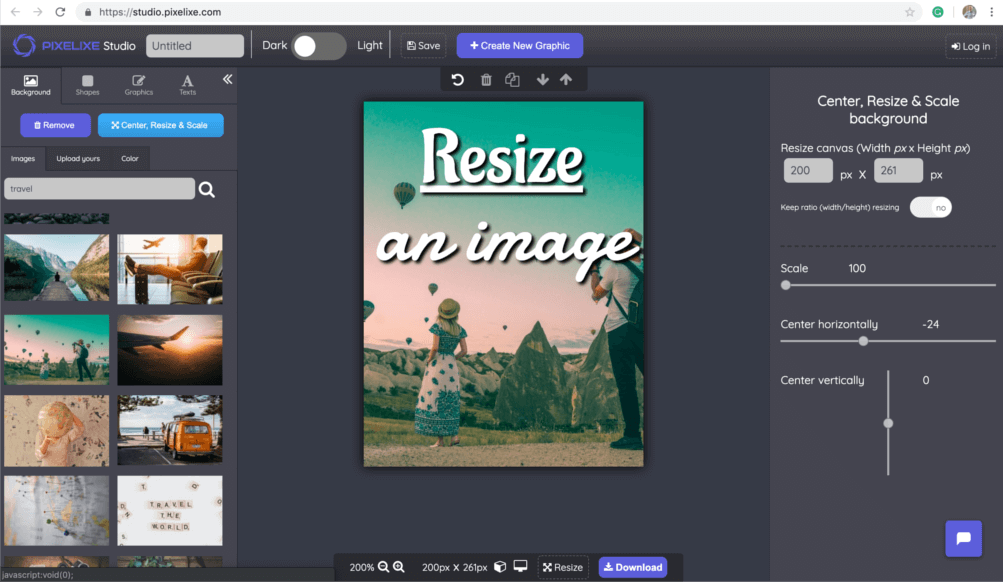
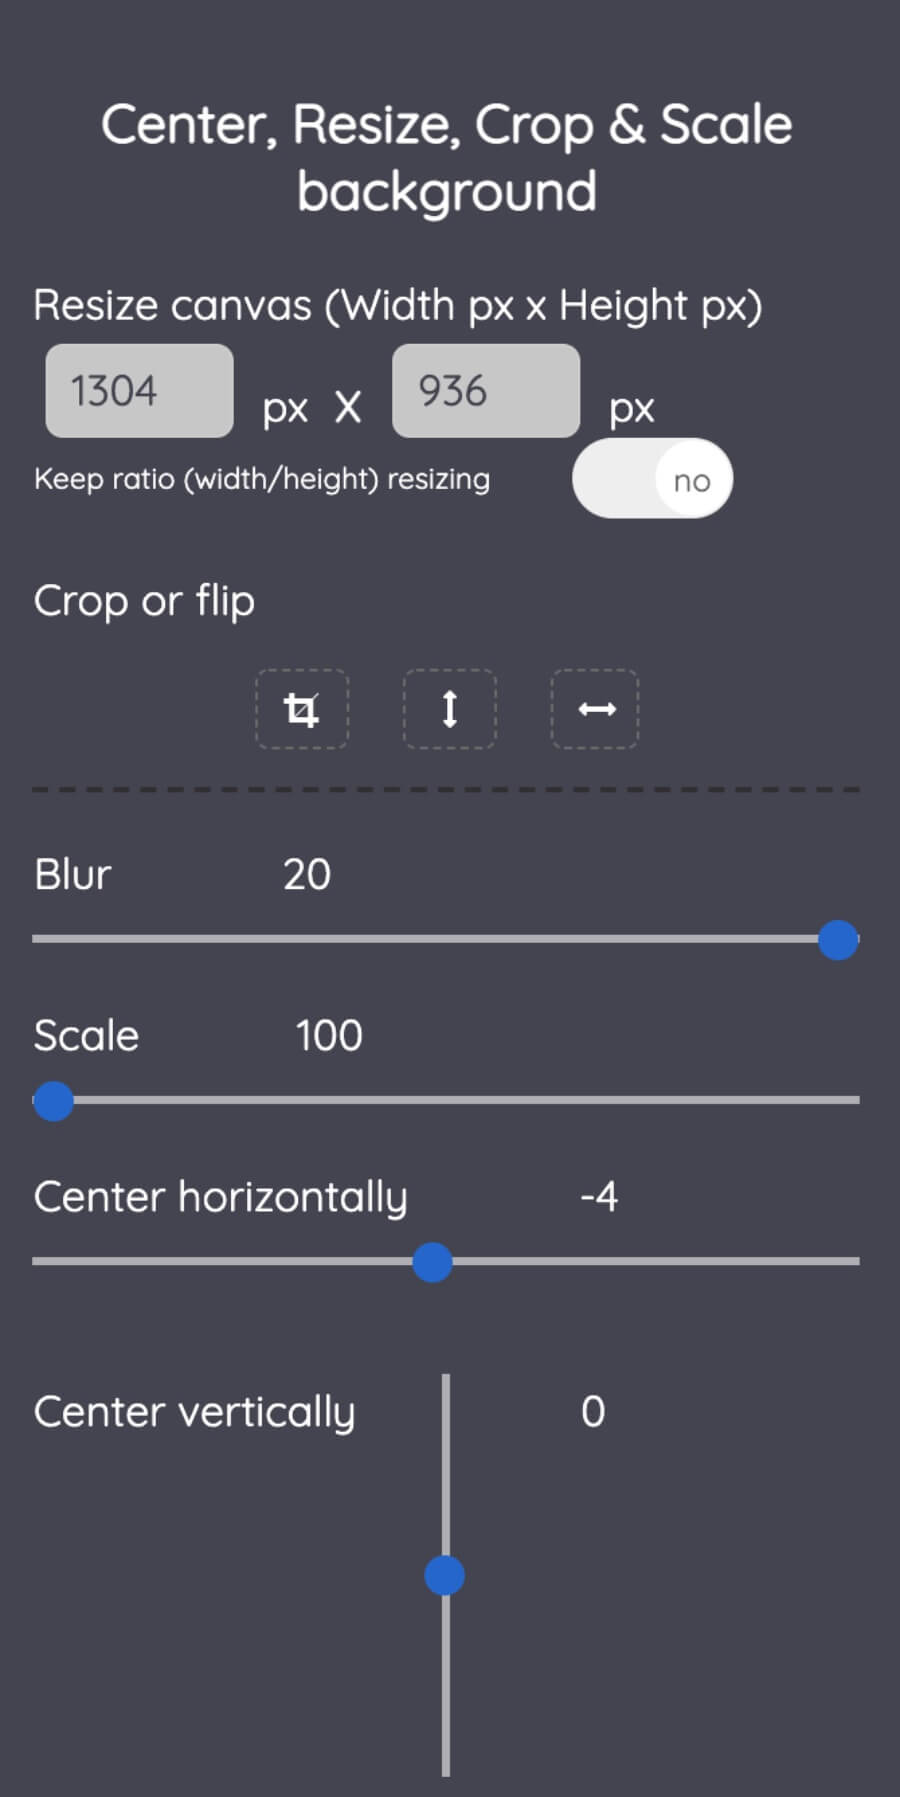
Once you upload your image, a panel will pop up on the right side of your screen with options to either center, crop or scale your picture.. From there, resizing images is as easy as it looks. Check out our tutorial below if you need to.
Download your creation in one click (free and no account required). Choose between PNG or JPEG (Optimized for Retina display)
Start by opening Pixelixe Studio and simply drop your photo from your computer (or click on the "or click to browse" link located in the center of the "drop" area). Once your photo opens in the editor, keep in mind, you can change it anytime from the left menu of the studio.
To do so, you will find five menu items (Background, Effects, Shapes, Images and Text). Click on "Background" to open the background panel. There, you will find 3 subtabs ("Images", "Upload Yours" and "Color"). The "Upload yours" subtab will let you drag and drop another image from your computer. So, if you want to change the photo you already uploaded, click on "Upload Yours" and drag and drop your new image from your local computer to the "Drop image here" box.
Once dropped, you will see your new uploaded image appears on your canvas as shown on the picture.

Once you uploaded your photo from your computer, the resize panel will automatically pop up on the right side of the screen. Keep in mind, this panel might dissapear if you select another menu items from the studio. Don't worry, you can reopen the resize panel anytime you want.
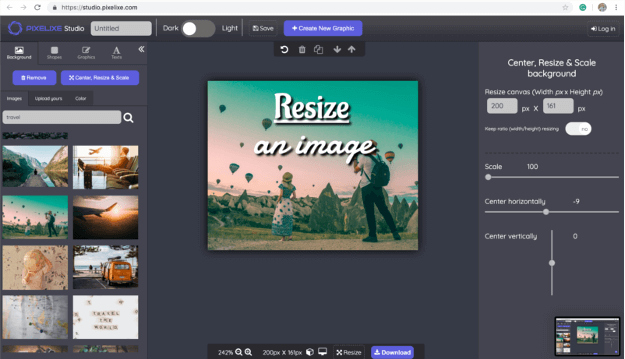
To do so, either click on your photo dimension (Ex: 1080 x 560) or an alternative is to click on the "Background" tab (from the 5 menu item options from the left menu : "Background", "Effects", "Shapes", "Graphics" and "Texts"). Then click on the "Center, Resize, Crop.." button. From there, the popup will reopen on the right side of the screen. Choose the new dimension of your image (width and height) or select the "Keep ratio" option to let the size auto adjust depending on your new width or new height.


Nothing more simple to download your creation. Click on the "Download" button located to the top right corner of the screen. You will instantly see a popup with the "Download your creation" headline with a few options to let you download your design either in PNG, JPEG or HTML format (HTML restricted to PRO subscriber). Click on the option of your choice and your image will be instantly generated and saved on your computer.
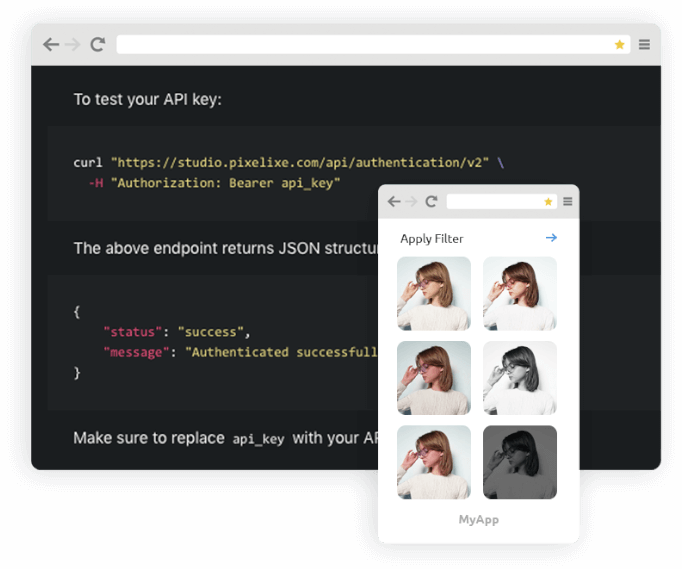
Discover our resize image api and other useful image processing api to integrate a photo resizing workflow from your webapp.
