Add a caption to an image
online in minutes
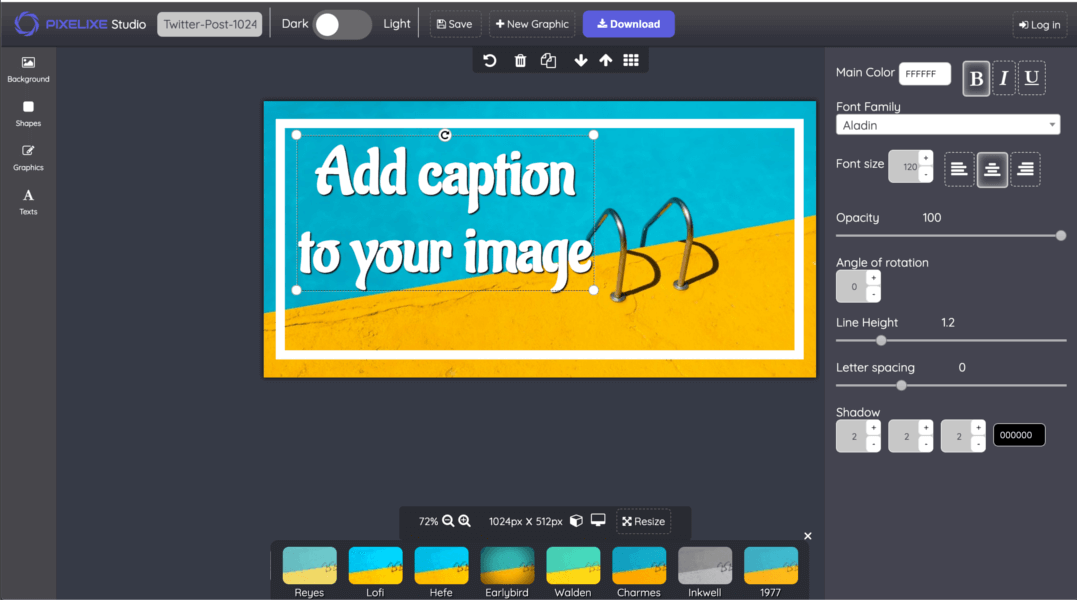
Create captioned images for Instagram, blog posts, tutorials, product explainers, testimonials, event visuals, or branded marketing content. Upload a photo, write the caption, style the layout, and export a polished graphic directly from your browser.
Add caption to image
No account required for a quick test
Use captions to add context, clarity, and story to your visuals
without opening a heavy design app
Captions help explain what people are seeing, highlight a key message, and guide the viewer toward the point of the image. They are useful for social media posts, tutorials, before-and-after visuals, blog graphics, event photos, and product storytelling.
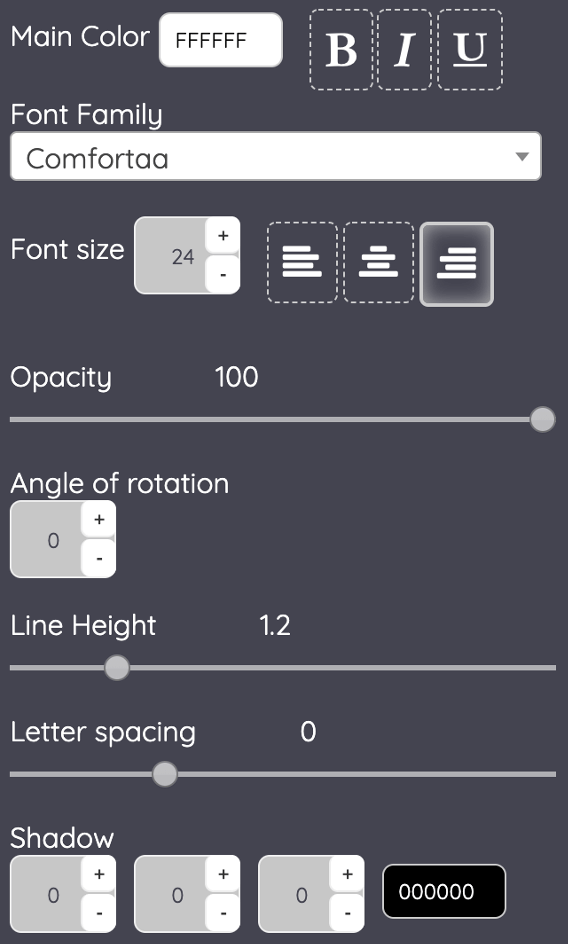
Pixelixe lets you add captions quickly while keeping control over font choice, spacing, alignment, color, contrast, and export quality. If you also need to add text to a photo, create a shorter quote image, or build richer social media graphics, the same Studio workflow works across all of them.
How to generate captioned images in bulk
If you need to add captions to many images from structured data, use Pixelixe templates with the Image Automation API. It is a practical way to create recurring tutorial visuals, testimonials, product explainers, or campaign variants without editing every asset manually.
See image generation API