API Documentation
How to offer your own graphic templates to your users
Introduction :
Integrating a white label graphic creation tool into your product is nice, right?
But we can all agree it will be even better if you could enrich your white label editor providing your own custom templates to your users.
1 ) Create your template with Pixelixe studio
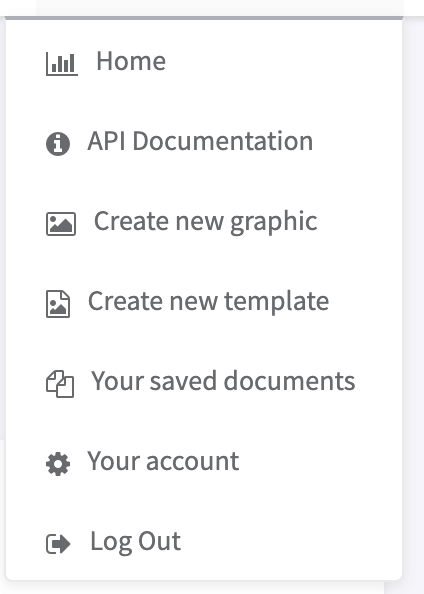
Once logged-in, from the top right dropdown menu, click on "Create new graphic" or "Your Saved documents".

If you clicked on "Create new graphic" you will end up directly in the Studio. If you clicked on "Your Saved documents" you will get the list of your saved documents and folders. By the way, with folders, you can easily organise your templates into format or categories.

From there, click on "Create new graphic" to start creating your first template. Be aware that once you save a template from the studio, you can find your document anytime in the "Your Saved documents" section.
From the studio, you can create and edit your first template. Start choosing the format, then add content.
Once you finish editing, save your work clicking on the "Save" button (see below). Saving is not mandatory but it will allow you to update your template in the future if required.

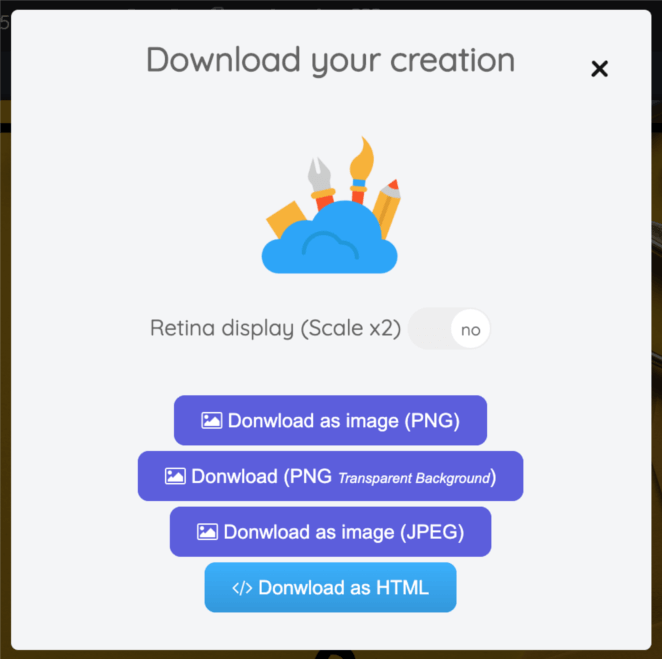
Now that you work is safe. You just have to download/export your final template as HTML. To do so, click on the blue "Download" button from the top toolbar.
Then click on "Download as HTML". This HTML document can be imported again in the Studio anytime you want. In fact, you can see those files as external graphic backup. This is this exact same document that is stored in your "Your Saved documents" section on our cloud servers (Pixelixe import/export engine is compatible with HTML document).
WARNING : As a reminder, the Studio can import and edit HTML templates only if they have been exported/downloaded (this way) from Pixelixe Studio. (You cannot import external HTML files.)

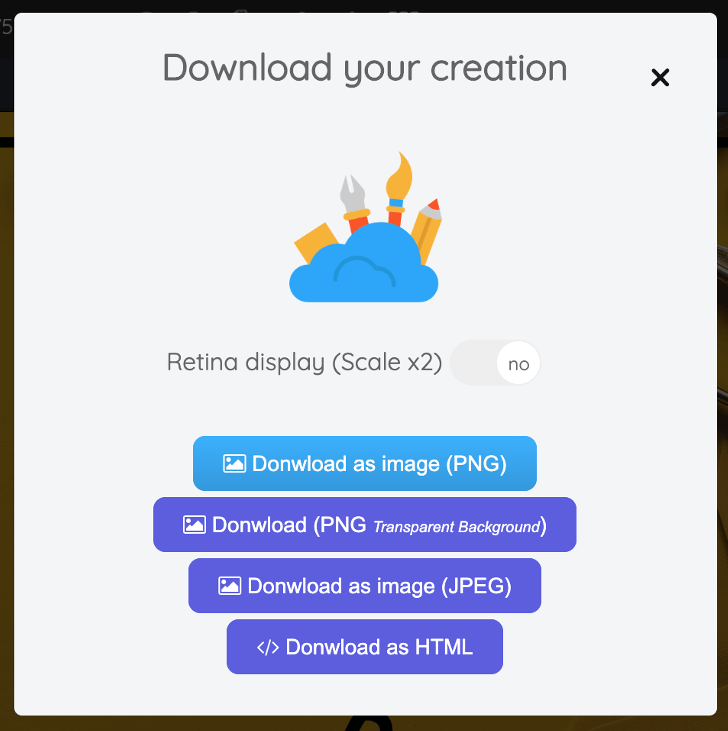
Finally, you can optionally download the PNG image of your template if you would like to display the preview of each of your templates to your customers into a dedicated area of your product

Maybe you noticed we used a preview image on our our Online DEMO, when you click on the image, the studio opens with the template preloaded. This is the same kind of user experience you can do with "preview" images.
2 ) Display your templates list to your customer
Once you downloaded your templates, you can list them on your website the way you want. The most common way to offer templates to your customer is by creating your own template listing page on your website or webapp.
To do so, use the PNG images (the one you downloaded from the editor) as previews (screenshots) and once your users will click on the preview, redirect them to the Pixelixe editor IFRAME adding the selected template valid Web URL as parameter (see below). This way, it will open the template directly inside the Studio (See documentation here to open a remote HTML document with the API)
Ex :
<iframe
    width="1200"
    height="1080"
    allowfullscreen
    frameborder="0"
    src="https://studio.pixelixe.com/#api?apiKey=YOUR_API_KEY&graphicUrl=https://yourwebsite.com/URL_TO_HTML_DOCUMENT.html&graphicName=NAME+OF+YOUR+DOCUMENT&uid=yourinternalid" >
</iframe>PREREQUISITE:
- First, your custom templates (Pixelixe exported HTML documents) must be stored on your server and accessible online with a valid web URL (starting by http or https and finishing with YOUR_TEMPLATE_NAME.html).
Ex: Custom template demo : https://pixelixe.com/white-label-graphic-editor-demo/img/template/demo-template.html - Second, to secure access to those templates and authorize the remote Pixelixe editor to access those documents located on your server, you must allow Cross-Origin Resource Sharing (CORS).
What is CORS ? CORS is a standard HTTP header to secure access of resources on the internet.
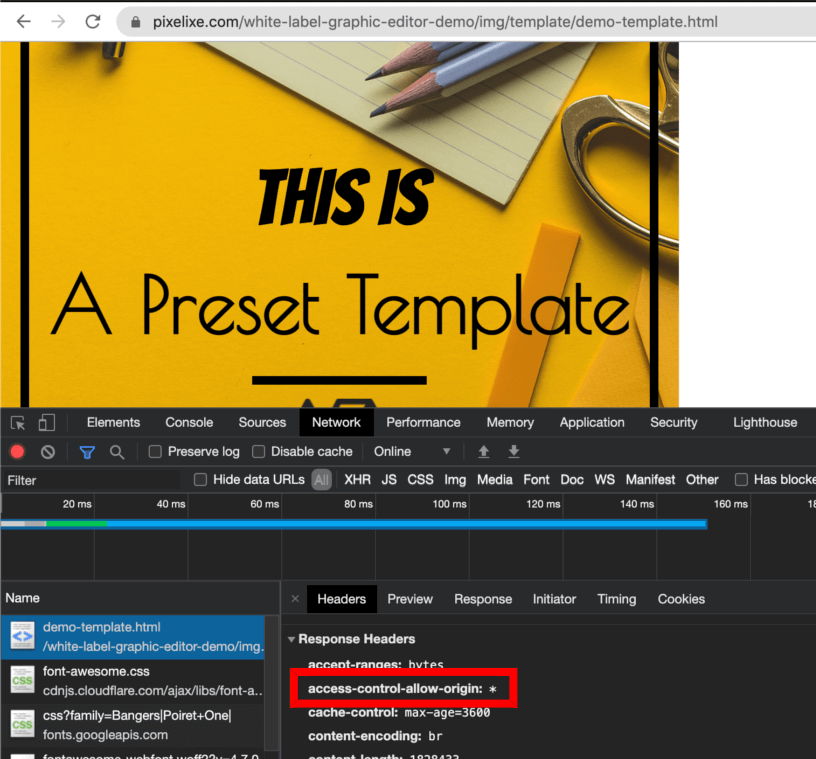
Add Access-Control-Allow-Origin: https://studio.pixelixe.com or a less secure alternative Access-Control-Allow-Origin: * to your HTTP response header to grant Pixelixe permission to access it.
The "Access-Control-Allow-Origin" header parameter can be set up on every web platform even CMS (WordPress, Magento, Drupal, eZ, erc...
By the way, you can easily check for yourself from the Developer console of your web browser if your template URL enables CORS as shown below: (Right click on the template in your browser and select the "Inspect" submenu).

To help you during the integration process, you can also check out the code source of our online demo on our GitHub repository : https://github.com/pixelixe/Pixelixe-API-Demo