Ordering business cards for one person is easy. Ordering them for a 40-person sales team, three regional offices, or a franchise network is where inconsistency, reprint costs, and last-minute approvals pile up. The cards are small, but the process around them gets complicated fast.
The fix is not a bigger design budget. A few repeatable systems turn card production from a recurring headache into a ten-minute task.
This article covers why scale changes the problem, ten practical ways to streamline the process, the tools worth considering, and a checklist you can reuse for every order.
Why Business Cards at Scale Are Different
Most business card advice assumes one card for one person. That advice breaks down once you manage dozens or hundreds of cards with different names, titles, and contact details.
Teams that print at scale balance two pressures that pull against each other:
- Brand consistency. Every card should look like it came from the same company, no matter who ordered it
- Speed and flexibility. New hires, promotions, and office moves mean the details change constantly
A few mistakes show up again and again:
- Rebuilding each card from scratch instead of working from a master template
- Collecting details by email and pasting them in by hand, which invites typos
- Approving low-resolution previews, then finding blurry logos or cut-off text after printing
- Letting each office choose its own fonts, colors, and layout
- Reordering one card at a time, which raises per-card costs and multiplies approvals.
10 Practical Ways to Streamline Business Card Design and Production
These tactics work for startups, agencies, and multi-location companies. They are ordered roughly from foundation to finishing, so earlier steps make later ones easier.
1. Build one locked master template
Every card should start from a single layout where the logo position, fonts, colors, and spacing are fixed. Only the personal fields stay editable.
- Lock the logo, brand colors, and text hierarchy
- Leave name, title, phone, email, and office address as the only editable fields
- Test the template with your longest real name and longest real title, so nothing wraps or overflows later
This one step removes most design inconsistency before it starts, because nobody can drift from the layout they cannot edit.
2. Create a brand kit before you design anything
A brand kit is the shared source of truth for everything a card draws on. Without one, people grab whichever logo file is nearest, and old versions keep circulating.
- Store the logo in full color, reversed (for dark backgrounds), and single color
- Record exact color values for both screen (HEX) and print (CMYK)
- List approved typefaces, sizes for name, title, and contact lines, and any spacing rules
- Keep it in one shared location with a single owner who updates it
When the brand changes, you update the kit once, and every future card inherits the change.
3. Define a data schema and collect details through a form
Typos are the most common and most avoidable card error. Most of them come from retyping information that arrived in an email.
- Decide your fields once: name, title, direct line, mobile, email, office, and optional extras like a LinkedIn URL
- Set formatting rules in advance, such as one phone number style and consistent title capitalization
- Use a form with required fields instead of free-text requests
- Export responses to a spreadsheet so the data is ready to populate or import
Clean input means the review stage catches real problems instead of formatting noise.
4. Build variants from the master, not separate designs
Different offices, languages, and roles need different details, but they do not need different designs. Treat variation as a controlled set of options on top of one template.
- Create office variants that swap only the address block
- Create language variants that keep the same grid with translated labels
- Create role variants for cases like executives or field staff, such as a QR code or an extra contact line
- Name each variant clearly so reorders pull the right one
You get flexibility where the business needs it and consistency everywhere else.
5. Standardize print specifications
Every variable you leave open becomes a source of error and delay. Pick one set of specs for the whole company and document it.
- One card size (3.5 × 2 inches in the US, 85 × 55 mm in many other regions)
- One paper stock and weight
- One finish, such as matte or soft touch
- One printer or a short approved list
Standard specs also make reorders fast, since a printer who already has your files and settings can turn around a repeat job without a new proof cycle.
6. Use AI for the first draft and for exploring directions
AI is most valuable when you are establishing the template, not when you are producing individual cards. Describe the business, the tone, and the color direction, review a range of options, and shortlist the strongest few.
- Describe the brand, not the layout: industry, personality, and palette give better results than positioning instructions
- Generate several rounds and treat the first batch as a starting point
- Move the winning draft into your brand kit and lock it as the master template
- Check spelling, contact details, and spacing yourself, since generated drafts still need human review
This replaces hours of manual layout exploration with a short review session, and you only do it once per rebrand rather than once per order.
7. Design for print from the first draft
Fixing a file after approval is the most expensive point in the process. Build print requirements in from the start instead.
- Work at the final card size with 0.125 inch (3 mm) bleed on every edge
- Keep text and logos at least 0.125 inch inside the trim edge
- Avoid very small type, since text under roughly 6 to 7 pt can fill in or blur when printed
- Export vector files (SVG, EPS, or PDF) for the printer, and use 300 DPI for any raster elements
- Convert to CMYK if your printer asks for it, and check that brand colors still look right
A card designed this way goes to print without a round of “the logo looks soft” corrections.
8. Populate cards in batches, not one at a time
Once your data is in a spreadsheet and your template is locked, populating cards becomes a repeatable batch job. Entering them individually is where fatigue and mistakes creep in.
- Work through the full list in one session using the same template and the same field order
- Use a bulk or data-merge feature if your tool offers one, and a duplicate-and-edit workflow with a checklist if it does not
- Spot-check the longest names, titles with special characters, and any non-English entries
- Keep a record of who is included in each batch
Doing it in one pass also makes errors easier to spot, because you are comparing cards against each other.
9. Set a single approval owner and a proof checklist
Committee approval slows production more than any design problem. One person, or a small team, should own the sign-off.
- Name the approver before the order starts
- Give them a short checklist: spelling of every name, correct titles, phone and email accuracy, logo clarity, and margin safety
- Set a response window so the order does not stall
- Require the employee to confirm their own details when the batch is small
A clear owner and checklist turn approval from a debate into a two-minute check.
10. Batch orders, store every version, and set a reorder cadence
The last step is what keeps the system running. Reacting to every new hire individually costs more per card and creates constant interruptions.
- Print on a schedule, such as monthly or quarterly, with an exception path for urgent hires
- Store every approved file in a shared account with a clear naming convention, such as
company_office_role_version - Keep a small buffer stock for high-turnover roles
- Review the template and specs once a year to catch outdated logos, addresses, or print standards
Stored versions let you reorder, update a single title, or add a new hire without rebuilding anything.
What Are the Best Business Card Tools?
Not every tool fits a high-volume workflow. These five are worth knowing, ranked by how well they support design speed, brand consistency, and print-ready output.
1. Design.com
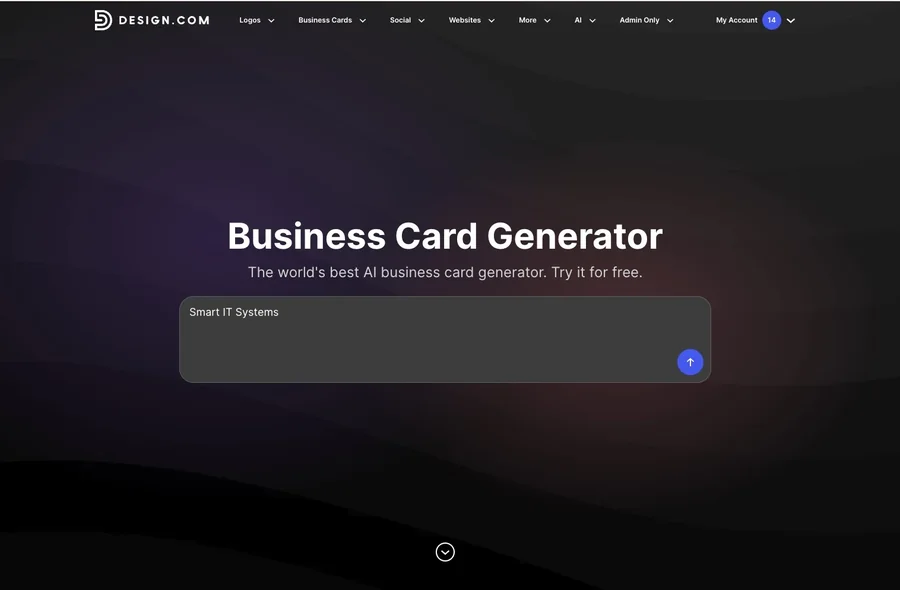
Design.com is the strongest option for teams that want speed without giving up control. Its AI business card generator creates branded, print-ready cards from a simple prompt, using AI trained on thousands of professional designs combined with designer-created layouts.
- Generates a large range of variations from a business name and short description
- Includes 500,000+ logo templates for exploring different styles and directions
- Refines results through edited prompts and keywords, with shortlisting for side-by-side comparison
- Offers full editing of fonts, colors, layouts, shapes, curved text, and gradients
- Syncs automatically with logos created on Design.com
- Includes 50+ design and branding tools for creating matching materials beyond the business card
- Previews cards before download and exports PNG and JPG for digital use, plus SVG, EPS, and PDF for professional printing.
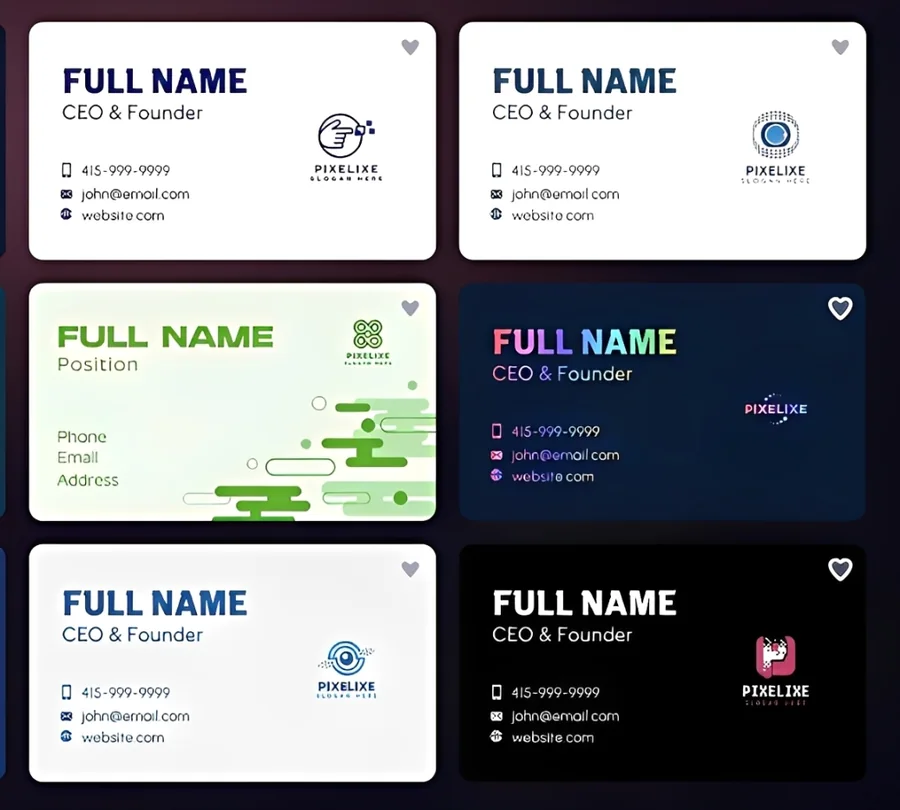
Here are the business cards Design.com generated. Look at how polished they appear and how much the styles vary from one card to the next.
Best for: Teams that want AI drafting, brand sync, and vector exports in one place.
Pricing:
| Plan | Price | What’s included |
|---|---|---|
| Free | $0 | AI-generated business card designs, unlimited variations to explore and customize, and selected free designs and templates |
| Paid (monthly) | $9/month | High-resolution and vector downloads, full editing access, an expanded template library, and Design.com’s broader branding tools |
| Paid (annual) | $6/month | Everything in the monthly plan at a lower rate |
2. BrandCrowd
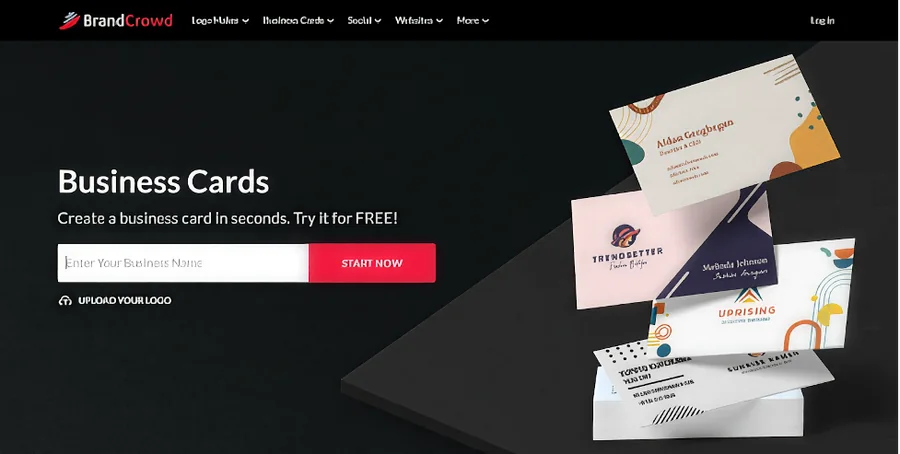
BrandCrowd is the best choice for teams that prefer starting from proven, designer-made layouts. Its business card maker offers more than 3,000 templates organized by industry and builds designs from your business name and logo.
- Fully editable fonts, colors, layouts, and icon placement
- Multiple saved versions stored in your account for editing and reordering anytime
- High-resolution downloads and vector formats (SVG, EPS, PDF) ready for print
- Commercial usage rights once you download
- Access to more than 50 design tools, including logo makers, website builders, and social media designs.
Every layout below was built by professional designers, which is why these BrandCrowd cards look finished before any editing, and your logo drops in without a fuss.
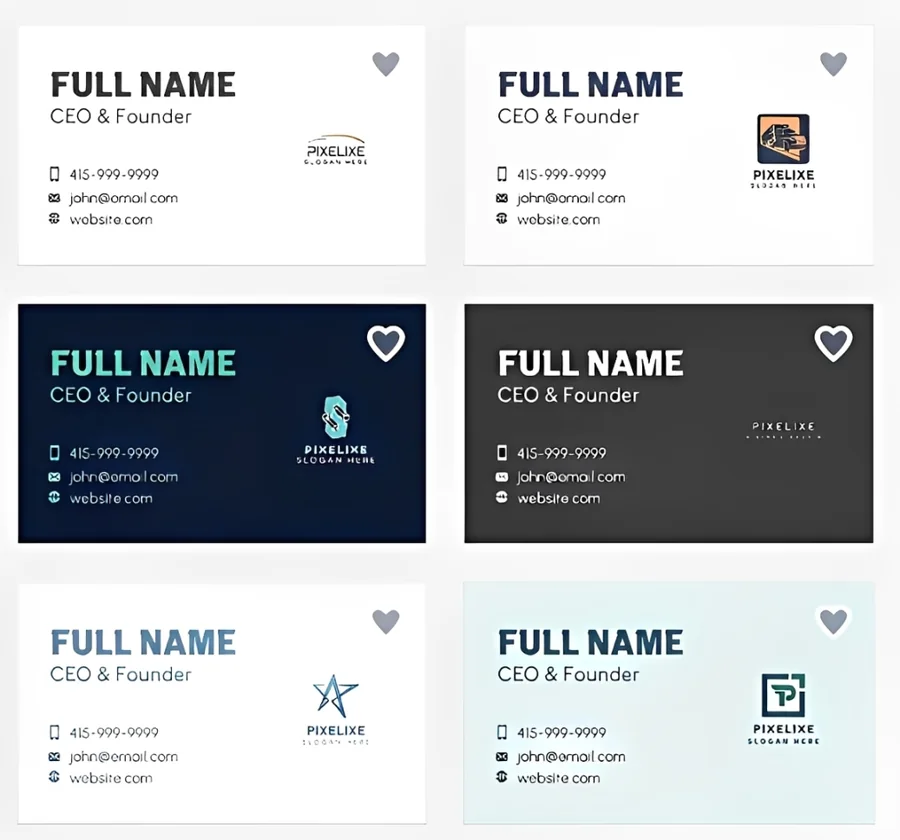
Best for: Startups, freelancers, and small businesses that want cards, logos, and other brand assets under one roof.
Pricing:
| Plan | Price | What’s included |
|---|---|---|
| Free | $0 | Free templates to create and customize. Physical printing requires a paid order |
| Premium | $3/month, billed annually | Your design is yours forever, unlimited edits, high-resolution and vector downloads (SVG, EPS, PDF), design storage and file access, 3,000+ card templates, and 50+ design tools |
| Premium Design Pack + Website | $6/month, billed annually | Everything in Premium, plus a website builder alongside your card designs |
3. Canva
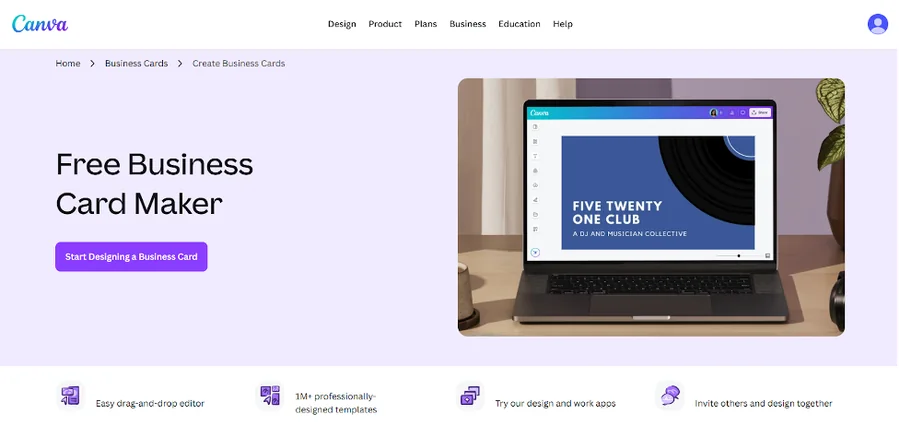
Canva is a flexible general-purpose design platform with a large template library. It works for occasional cards, but it is not built around business card production, so keeping a large team consistent takes more manual discipline.
- Broad template library and an easy drag-and-drop editor
- Brand kit options for storing logos, colors, and fonts
- Print ordering and export options
Canva’s cards come out clean, though they read as general templates, and each one needs manual setup to match a brand.
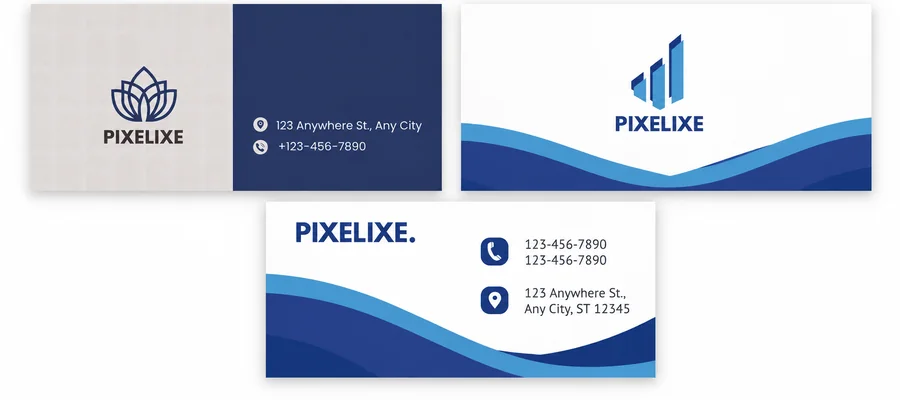
Best for: Small teams that already use Canva for other design work and only print cards occasionally.
Pricing:
| Plan | Price | What’s included |
|---|---|---|
| Free | $0, a genuine free plan | Basic templates and design tools |
| Pro | $18/month, or $144/year (about $12/month) | Premium templates and assets for one user |
| Business | $25 per user/month, or $250 per user/year | Multi-seat plan with team controls |
4. Looka
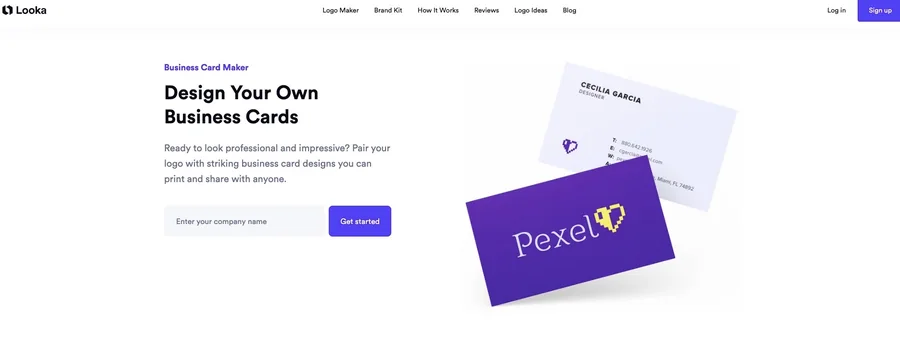
Looka is centered on logo creation, with business cards offered as part of a broader brand package. It is a reasonable pick if the logo is your main need, though its card tools are less developed than the top two.
- Logo generator that produces a basic brand kit
- Business card templates built around the generated logo
- Limited card-specific features for managing many designs
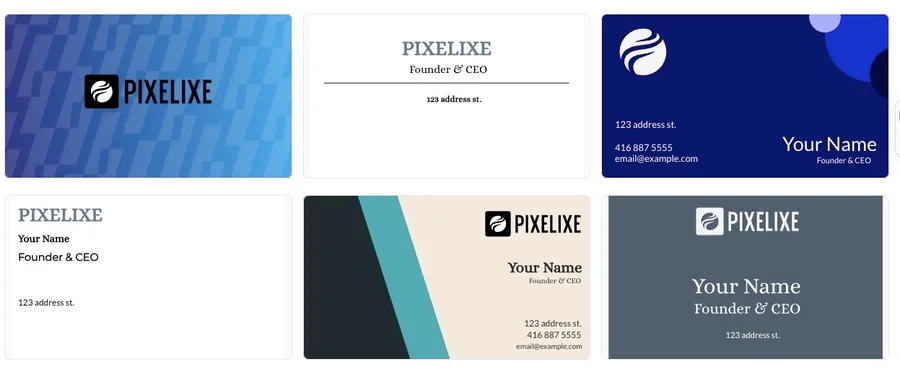
Looka builds its cards around the logo it generated, so the results look alike and leave little room to change direction.
Best for: New businesses that need a logo first and a simple card second.
Pricing:
| Plan | Price | What’s included |
|---|---|---|
| Free | $0 | Logo previews only, with downloads requiring payment |
| Premium Logo | $65 one-time | Logo files only, with no business card templates |
| Brand Kit | $96/year | Premium logo files plus 300+ branded templates, including business cards, email signatures, and letterheads |
| Brand Kit Web | $129/year | Everything in Brand Kit, plus a website builder |
5. Adobe Express
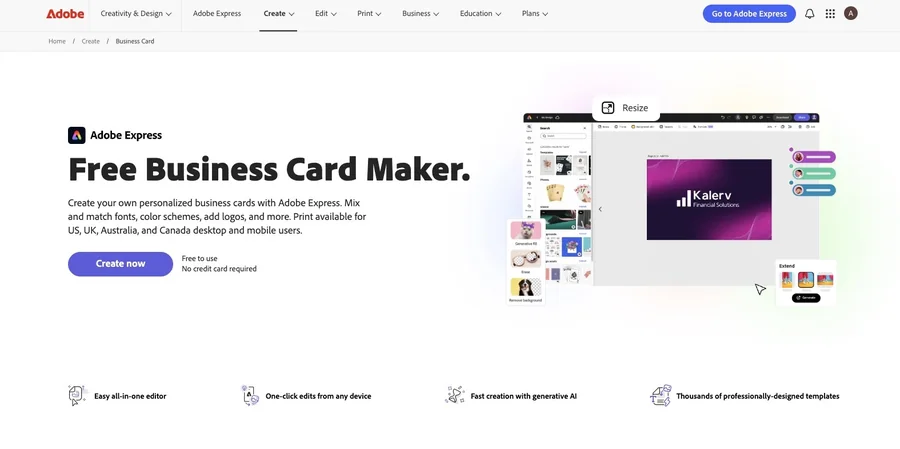
Adobe Express provides simple templates and fits easily into existing Adobe workflows. It handles basic cards well, but it offers fewer card-specific features for teams managing many designs.
- Template-based editor with quick customization
- Integration with other Adobe tools and assets
- Basic export options for print and digital use
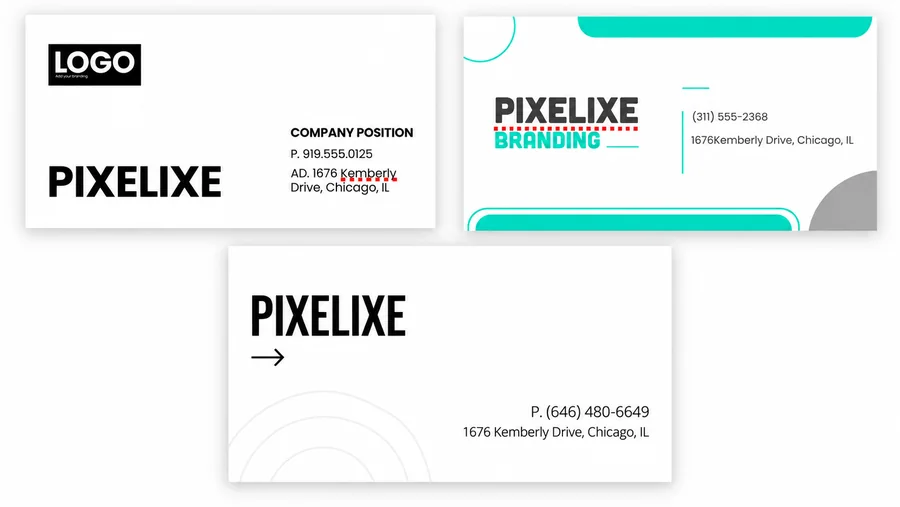
The Adobe Express layouts shown here are tidy and simple, but they lean toward social graphics more than print-ready cards.
Best for: Teams already working in the Adobe ecosystem that need straightforward cards.
Pricing:
| Plan | Price | What’s included |
|---|---|---|
| Free | $0, a permanent free plan | Basic templates and editing tools |
| Premium | $9.99/month with no annual commitment | Premium templates, brand kits, and 250 generative credits per month |
| Teams | $4.99 per license/month in year one, then $7.99, with a two-seat minimum | Team features for multiple users on an annual plan |
Production Workflow Checklist
When a new order comes in, run through this sequence instead of starting fresh:
Confirm the template. Use the current master layout with the approved logo and colors.
Collect the details. Gather names, titles, phones, and emails through your standard form.
Populate and review the cards. Check spelling, formatting, and contact information for every person.
Export print-ready files. Use vector formats such as SVG, EPS, or PDF for the printer.
Check the specs before sending:
- US standard size: 3.5 × 2 inches
- Standard size in many other regions: 85 × 55 mm
- Resolution for raster files: 300 DPI
- Bleed: 0.125 inch (3 mm) around the edges
Approve and archive. Get sign-off from your single approval owner, then save the final files in your shared account for future reorders.
Final Thoughts
Streamlined card production comes down to a locked template, clean data, print-ready files, and a clear approval path. Once those are in place, a new hire’s card takes minutes instead of days.
The right tool makes each of those steps easier, especially one that keeps drafting, branding, and export connected. But the system matters more than the software, and a team with a good process will outperform one with a better tool and no process.
The details on a business card are small, but the first impression is not. Build the system once and let it run.