Introducing Pixelixe Studio
Pixelixe Studio is an easy-to-use graphic design tool that can also be used as a simple photo editor. The studio offers millions of stock photos, fonts and icons with one objective in mind, to make sure your creative will be unique and stunning.
2 ways to use the studio:
- Photo editor: Crop, resize, apply filters to your image and much more.
- Graphic banner editor: Benefit from our social media and display templates or start from scratch selecting a preset size and add text, icons, shapes, effects and more to your designs.
Export format:
- Image (PNG, JPEG or transparent PNG (Chrome only))
- HTML
How can I upload a photo that I want to edit ?
Open the studio and simply drag and drop an image from your computer to the "Drop image here" area (see below).

You can change your photo anytime clicking on the ‘New’ button in the top-hand pane.
You can change your photo anytime clicking on the ‘New’ button in the top-hand pane.
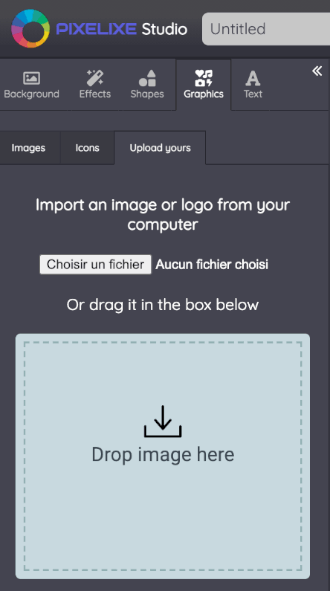
How do I upload a graphic, photo or logo ? (Not as a background)
Once you're in the graphic editor, click the ‘Graphics’ option in the left-hand pane. Then click the “Upload Yours” tab.
From here, you can upload your own graphic by clicking ‘Upload an image’ or you can drag and drop an image from your own computer to the "drop" area.
From here, you can upload your own graphic by clicking ‘Upload an image’ or you can drag and drop an image from your own computer to the "drop" area.
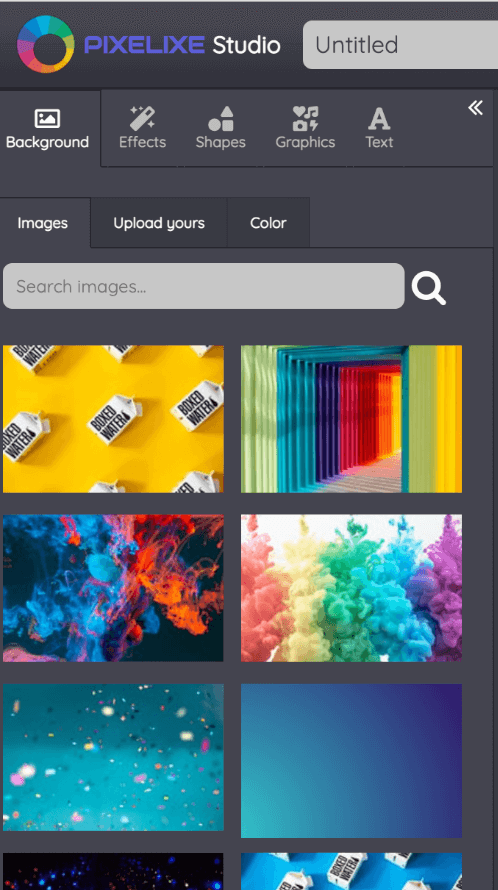
How do I upload my own background image in a preset template ?
Click on the ‘Background’ option in the left-hand pane. Then click the “Upload Yours” tab.
From here, you can upload your own graphic by clicking ‘Upload an image’ or you can drag and drop an image from your own computer to the "drop" area.
From here, you can upload your own graphic by clicking ‘Upload an image’ or you can drag and drop an image from your own computer to the "drop" area.
How do I download an image with a transparent background?
To download an image with a transparent background, you must subscribe to one of our paid plans. Transparent background is not supported in all web browsers (Chrome only).
Click on the "Download" button located in the top right corner and then on "Download Transparent PNG".
Click on the "Download" button located in the top right corner and then on "Download Transparent PNG".
Is it really free ?
Yes! We will always offer a FREE version of our studio. Apart from the free plan, we also offer some paid plans with unlimited storage space and a white label option. If you have any questions or doubts, please feel free to reach us here.
Which browsers are compatible with Pixelixe?
Pixelixe is compatible with the latest versions of Chrome, Firefox, Safari and Microsoft Edge.
How do I add / edit text? (caption or quote)
Once you're in the graphic editor, click the Text option from the left side of your screen to open the "Text" tab.
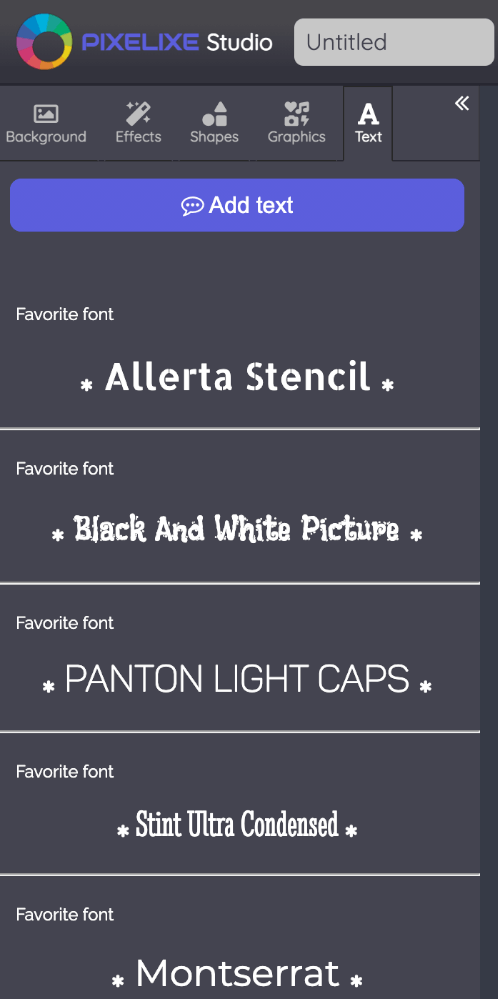
Click on the "Add text" button and a "Heading text" element will be automatically added onto the canvas.
To edit the text, double-click on the text. The "Heading text" label will dissapear and you can write whatever you want.
You might have noticed that a panel appeared on the right side of your screen. To modify the font, size and other font options, use the selections in the right-hand pane.
How do I crop an image ?
Simply select an image on your canvas with one click to see the right-hand pane appear.

Underneath the "Crop or flip this image" label, you will find 3 buttons to either crop or flip your image
Click on the Crop button and you will see our Image Cropper tool appear. Simply follow instructions from there.

Underneath the "Crop or flip this image" label, you will find 3 buttons to either crop or flip your image
Click on the Crop button and you will see our Image Cropper tool appear. Simply follow instructions from there.
Crop your background image
To crop your background image, you can click on the "Crop your background" button from the top center toolbar located above your canvas. Move your mouse over the main toolbar icons to understand key editor options.
How do I resize my design and convert it to another size?
2 ways to resize
- Magic Resize (also resize all text and images in the graphic)
- Standard Resize (resize only the graphic width and height)
Magic Resize
Click on the "Format" button located on the top center toolbar to access our Magic Resize feature.
Select a dimension to resize your graphic. You can either convert it to a custom size or a pre-defined size.
Keep in mind that Magic Resize will resize all elements within your graphic trying to respect the layout and size of all text and images to better match your new size.
Standard Resize
If you only want to resize your graphic without automatically updating your content, you can simply click on your design size on the black top center toolbar (for example "200px x 200px" from the screenshot above).A new pane will pop up on the right side of your screen. Simply change the width and height and voila.
How do I download my graphic?
Within the graphic editor, click the "Download" button located on the top right side of the editor. Choose your file type.
The free version of Pixelixe Studio is limited to 6 download each month. The paying plans give you access to unlimited downloads.
How do I save my design?
Within the graphic editor, click the "Save" button on the top center side of the toolbar.
Select the folder of your choice from your storage space (Home folder by default) and click the "Select" button.
This is it, your document is now stored in your account and you can re-edit it whenever you want.
N.B: The save feature is only accessible from the "Create" plan.s
Select the folder of your choice from your storage space (Home folder by default) and click the "Select" button.
This is it, your document is now stored in your account and you can re-edit it whenever you want.
N.B: The save feature is only accessible from the "Create" plan.s
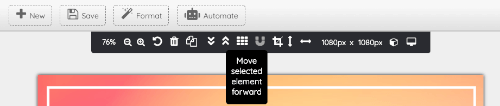
How do I re-arrange the order of my layers?
You can arrange the order in which your objects appear on the canvas.
When an item is selected, you can click the “Move selected element backward” or “Move selected element forward” on the main toolbar to re-arrange its order.
When an item is selected, you can click the “Move selected element backward” or “Move selected element forward” on the main toolbar to re-arrange its order.
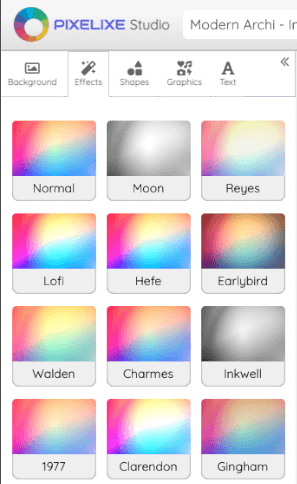
How do I apply photo effects to my background image?
Once you chose or uploaded your background image, click on the "Effects" tab from the left menu and select your favorite filter among our presets.
How do I mirror flip an image ?
Simply select an image on your canvas with one click to see the right-hand pane appear.
Underneath the "Crop or flip this image" label, you will find 3 buttons to either crop or flip your image
Click on the "Flip vertical" or "Flip horizontal" button and you will instantly see the result.
Underneath the "Crop or flip this image" label, you will find 3 buttons to either crop or flip your image
Click on the "Flip vertical" or "Flip horizontal" button and you will instantly see the result.
Mirror flip your background image
To mirror flip your background image, you can click on the "Flip vertical" or "Flip horizontal" button from the top center toolbar located above your canvas. Move your mouse over the main toolbar icons to understand key editor options.
How do I select a template or layout?
Simply click on the "New" button from the top main toolbar and scroll to display our template list. Double-click on your favorite template to load it into the editor.
How do I select a template or layout?
Simply click on the "New" button from the top main toolbar and scroll to display our template list. Double-click on your favorite template to load it into the editor.
How do I edit the file name of my design?
Edit the "Your document name" text field located near the Pixelixe Studio logo. Then click "Save" and follow instructions.
Which keyboard shortcuts work with Pixelixe Studio?
Mac OSx Shortcuts
Copy elements: command + CPaste elements: command + V
Undo action: command + Z
Move object 1 pixel: Arrow keys
Delete selected object: Delete key
Select multiple objects: Hold shift + mouse click
Windows Shortcuts
Copy elements: control + CPaste elements: control + V
Undo action: control + Z
Move object 1 pixel: Arrow keys
Delete selected object: Delete key
Select multiple objects: Hold shift + mouse click
How do I edit the file name of my design?
Edit the "Your document name" text field located near the Pixelixe Studio logo. Then click "Save" and follow instructions.