
When you need to prepare files for large format printing, it’s time to start thinking differently. A large-format printed product is smaller than you think, so being able to spot its errors is much easier than you think.
Nevertheless, printing images on a large scale requires you to be prepared to correct the standards and specifications required for achieving the ideal results. This won’t only speed up the process but also ensure that you are avoiding any major damages made during the printing phase to save money and time.
Well, without further ado, let’s take some time to go through the tips you need to follow for making your large-scale print files ready.
8 Tips for making your print files ready
Every screen display will have different colors, even when it’s RGB. However, you should ensure that no matter which files you print, they all share the same color, regardless of the printer you use.
So, what can you use instead of RGB? Your best bet is to consider using the CMYK color scheme. In long, CMYK is Cyan, Magenta, Yellow, and Key. CMYK will help you show the actual colors of the files you print.
Moreover, don’t forget to identify how you want to print. For example, will it be offset or digital? Offset printing is best for large projects and projects requiring fewer copies than needed.
One of the first things you need to do whenever you prepare your files for large format printing (f.e- large sticker printing) is to ensure your viewing distance and optimize your images for this distanced view. Nevertheless, ask yourself, what do you want your viewing distance to be? Or, how far away do you want people to see your product?
Alternatively, there are many factors to consider when dealing with large format printing. Nevertheless, something important you should focus on when preparing files for large format printing is your dots-per-inch (DPI). If you want your image to be sharper when viewed from a distance, the more dots per inch you’ll need for your image. Also, you need to know that the greater the view distance, the larger the DPI needs to be.
Short put, size, and resolution are two different things. So, if you have a file that does not match your resolution, your print will turn out blurry, or the opposite may happen; your picture size may be small but high-quality.
Your images and files need to both have the ideal size. So if you want to scale your images, it’s best to scale down and not up. Nevertheless, if you are obliged to scale up, the best thing you can do is to use a photo editing software like Adobe Photoshop. This is to ensure your image doesn’t look low quality or to a point where you can see the pixels.
Nevertheless, don’t forget to double-check your file types. Always remember that PNGs give you a higher-quality image than JPGs. Even though JPG images aren’t bad, they can still lose quality over time. Alternatively, we have a TIFF file larger than both JPGs and PNGs. However, even though a TIFF will give you high quality, it’ll take up too much memory from your desktop.
Regardless, you can use a TIFF file or PNG, but at the end of the day, it’ll depend on how much memory your desktop has and which you think does the job for you.
Now that you see how important your file size and view distance are, it’s time to focus on calibrating your screen. For example, you want to ensure that what you will see on your desktop’s screen will be the same as when you see it on paper. The last thing you want is to see the colors being messed up, the fonts to be missing, and even the graphics to be off. Thus, you are only wasting your material and time.
How can you avoid this? The best way is to calibrate your PC’s monitors. You can do this by following the industry standards regarding contrast, brightness, color, and more. So, what are the standards you need to follow? Here are the most important ones:
Gamma- 2.2
Black- 0.4
White brightness- 95
White color temperature- 6500K
Nevertheless, you must ensure your printing company’s screens have the same values as your company screens. Every monitor will differ, and whenever you use graphic editing software, you need to ensure that what you see on the software will be the same as what you see on the printer. Nevertheless, do what we said before, and that is to ensure that you have converted every file to CMYK to ensure there are no color differences.
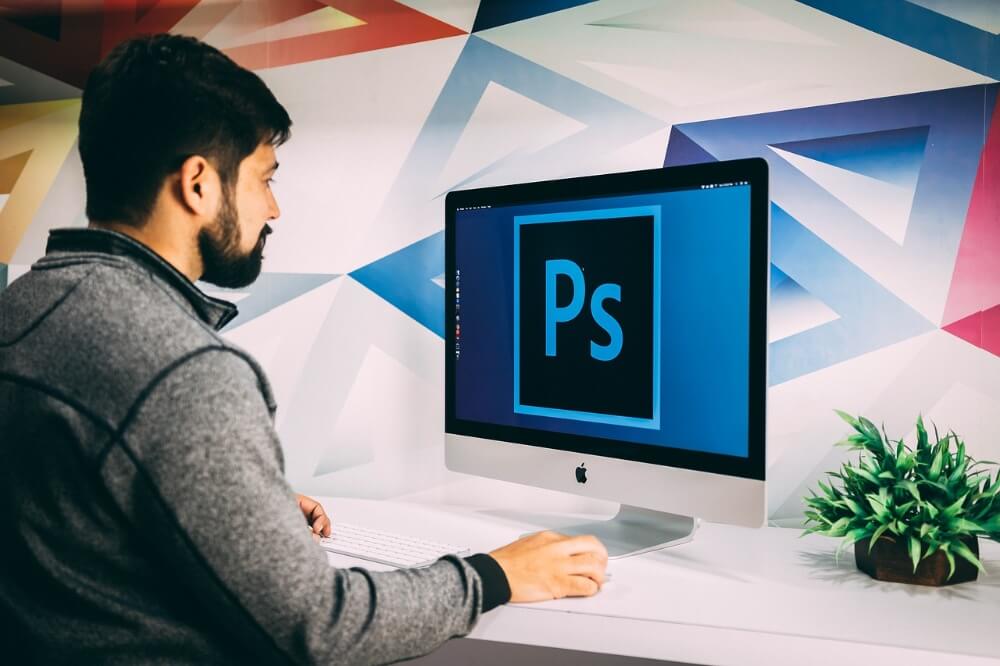
Depending on the reason you are using the programs, Adobe Illustrator is generally a better program to use than Adobe Photoshop whenever you want to design large format print for different reasons.
Adobe Illustrator creates images by using vectors. Vectors images are 2D shapes that are created by equations. Comparatively, Photoshop can’t create vectors but only uses rasters, giving you a fixed pixel distribution. One major advantage of Photoshop is that it can scale quickly and doesn’t suffer from pixelation. However, rasters can get blurry when you scale them because of their limited amount of pixels.
If you want to be secure in everything you do, preparing your printing project and converting to a PDF file would be a good idea. It’s one of the easiest ways to save your work and ensures that your file doesn’t have different on-screen sizes, a common issue when you use a .docx file.
No matter what you do, work with your printer to ensure that your file is ready to go.
If you have text in your printing file, your best option is to convert your fonts into vectors. We recommended using Adobe Illustrator to help you with this part. Unfortunately, the printer you are using might not have the same typography you’re using, and when this happens, it can ruin your entire font on paper.
Nevertheless, vectors are the ideal solutions for creating files that are easy to transfer. Thus, it’s important to convert all of your fonts to vector artwork.
Whenever your file is ready for printing, you’ll also need to consider finding a printer that will bring you what you are asking for. For example, if you have any upcoming events, you need to ensure that your business has a proven track record and that you deliver products on time and don’t have any print flaws in it.
Try reading online reviews of which type of printers you should use, and even check out their work portfolios. Then, work with printers that specialize in your area and fulfill your needs in the event you are going to uphold.
Your printer should be second-hand, understand your needs, and deliver the work on time. There are plenty of printing companies worldwide that you can choose from, but it’ll all depend on your needs. If you see that your local area has a printing company that can fulfill your needs, go for it, but if you want to go out and buy a printer on your own, ensure to buy one that meets your needs.
For instance, here are the following things you need to look out for before you choose to buy a printer for your business:
Thermography
Perforation
Foil
Embossing
Laminate
Scoring
Die-cutting
Wrapping it all up
That’s about it for this article. This is about everything you need to re-consider when making your print files ready. Many printing companies will struggle with the same issue, and that is to ensure their image looks the same before printing it and after.
Moreover, ensure you avoid using RGB but instead start using CMYK. Nevertheless, consider converting your font into vectors. Vectors will always help you in avoiding your print image to look pixelated. Adobe Photoshop isn’t a bad choice, but Illustrator will still do the job better in this case.
Last but not least, make sure to save your file as a PDF, and choose a printer that will fulfill the requirements we mentioned above. After all, before you print anything, you want to make sure your image isn’t pixelated and that it still remains high-quality even when you choose to increase your view distance!