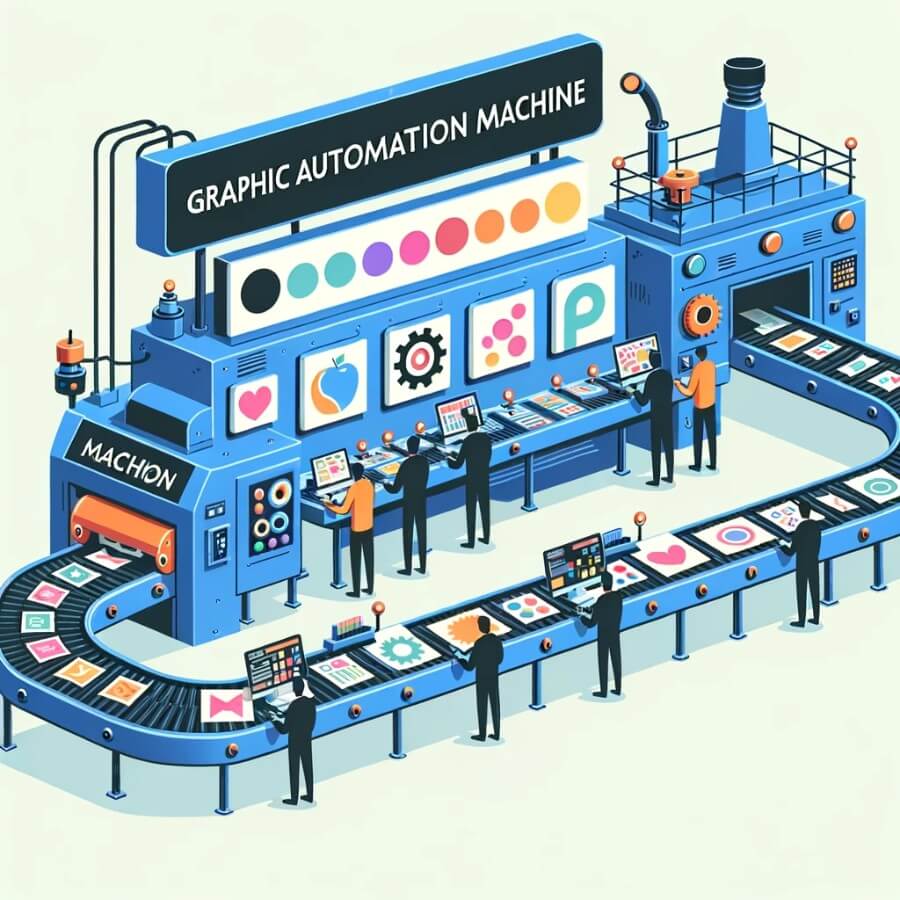
In today’s fast-paced digital landscape, staying ahead of the competition in graphic design and content creation can be a daunting task. The demand for eye-catching visuals and engaging content is higher than ever, and manual design processes can’t keep up with the pace. This is where graphic automation tools like Pixelixe Automation and AI-driven solutions like ChatGPT come into play. In this comprehensive guide, we’ll explore how to create a graphic automation machine that not only streamlines your design workflow but also helps you outpublish your competition.
The Rise of Graphic Automation
Before diving into the specifics of creating a graphic automation machine, let’s first understand the significance of automation in the world of graphic design.
Why Graphic Automation Matters
Graphic automation has become a game-changer for businesses and content creators across industries. Here’s why it matters:
Efficiency: Automation reduces the time and effort required for repetitive design tasks, allowing designers to focus on creative aspects.
Consistency: Automated processes ensure that your branding elements, such as logos and color schemes, remain consistent across all designs.
Scalability: With automation, you can create a high volume of designs quickly, making it ideal for content marketing, social media, and advertising campaigns.
Cost Savings: By automating design tasks, you can save on labor costs and improve the overall ROI of your marketing efforts.
Introducing Pixelixe Automation
One of the key players in the world of graphic design automation is Pixelixe Automation. This powerful white-label graphic design tool offers a wide range of features that empower businesses to automate their design processes effectively.
Key Features of Pixelixe Automation
Custom Templates: Create and customize templates tailored to your brand’s unique style and needs.
Drag-and-Drop Editor: Easily design graphics by dragging and dropping elements onto your canvas.
Automation Workflows: Set up automated workflows to generate designs for various purposes, such as social media posts, blog headers, and more.
API Integration: Seamlessly integrate Pixelixe Automation into your existing systems and workflows.
Now that we have a grasp of why graphic automation is essential and an introduction to Pixelixe Automation let’s explore how to create a graphic automation machine that can outpublish your competition.
Building Your Graphic Automation Machine
To outperform your competitors in the realm of graphic design and content creation, you need to build a well-oiled graphic automation machine. Here’s a step-by-step guide on how to do it:
Step 1: Define Your Goals and Objectives
Before diving into the technical aspects of automation, it’s crucial to define clear goals and objectives. What do you want to achieve with your automated graphic design efforts? Are you looking to increase brand visibility, drive engagement on social media, or improve your website’s aesthetics? Understanding your objectives will guide your automation strategy.
Step 2: Identify Your Target Audience
Knowing your target audience is fundamental to creating designs that resonate with them. Conduct thorough market research to understand your audience’s preferences, pain points, and interests. This information will help you tailor your automated designs to meet their needs effectively.
Step 3: Set Up Your Design Templates
With Pixelixe Automation, setting up design templates is a breeze. Create templates that align with your brand’s visual identity and messaging. Ensure that these templates are versatile enough to be used across various platforms and content types.
Step 4: Define Automation Workflows
Automation workflows are the heart of your graphic automation machine. Define workflows that correspond to your design needs. For instance, you can create workflows for social media graphics, blog headers, email newsletters, and more. Configure these workflows to generate designs automatically based on your predefined templates and content inputs.
Step 5: Integrate Pixelixe Automation
To fully leverage Pixelixe Marketing Automation‘s capabilities, integrate it with your existing systems and tools. This integration ensures seamless data exchange and efficient automated image generation processes. Consult Pixelixe’s API documentation for a smooth integration experience.
Step 6: Implement AI-Powered Content Generation
Now, let’s introduce ChatGPT, an AI-driven solution that complements your graphic automation machine. ChatGPT can assist in generating compelling written content to accompany your graphics. Leverage ChatGPT to automate the creation of blog posts, social media captions, and product descriptions. The advent of advanced AI technologies like GPT-4o enhances its capabilities to process diverse input types—text, audio, images, and video—and deliver outputs in multiple formats, including text, audio, and images.
Step 7: Monitor and Optimize
Once your graphic automation machine is up and running, regularly monitor its performance. Analyze metrics such as engagement rates, click-through rates, and conversion rates to gauge the effectiveness of your automated designs. Use this data to make necessary optimizations and improvements.
Conclusion
In a world where content is king, having a graphic automation machine that outpublishes your competition is a significant advantage. By defining your goals, understanding your audience, and leveraging tools like Pixelixe Automation and ChatGPT, you can create a streamlined and efficient design process that not only saves time and resources but also delivers impressive results.
Embrace the power of image generation API and AI-driven content generation to stay ahead in the ever-evolving landscape of digital marketing and design. With the right strategy and tools in place, you’ll be well-equipped to outshine your competition and make a lasting impact in your industry. You can even go beyond this integrating a white label graphic editor into your internal website to ease the productivity of your team.