
Imagine creating a digital marketing campaign, all texts, no visuals. Does that sound like a nightmare?
If it did, you are right to feel so.
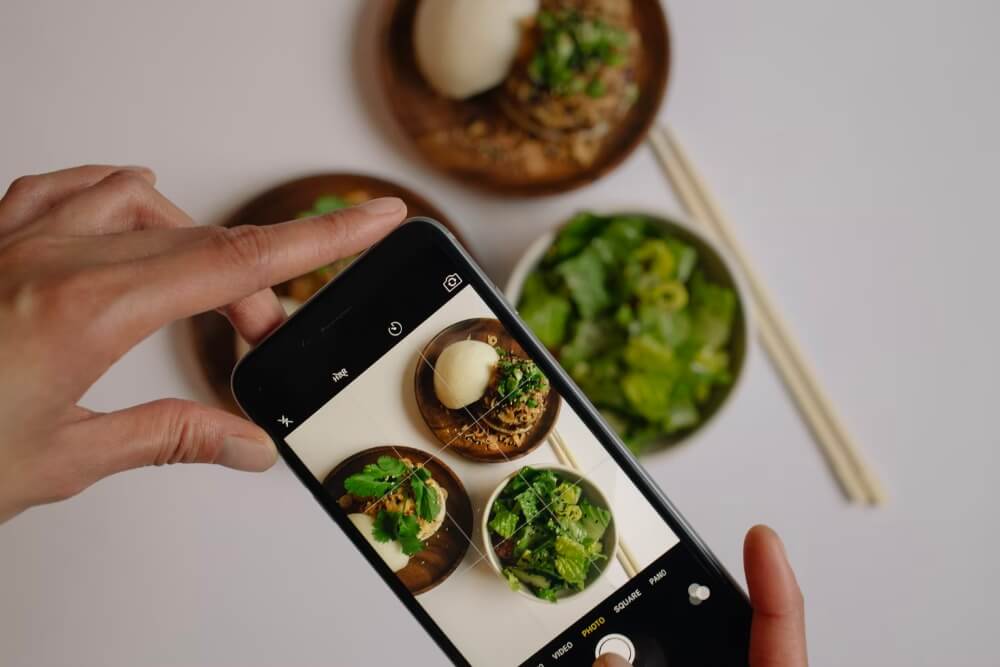
In an oversaturated content ecosystem, visual content is indispensable for doing content right.
It not only helps to communicate your brand’s story in a more comprehensive manner but keeps them engaged with your brand for a longer period of time. Done right, it can enhance your brand awareness, equity, and customer lifetime value by exponents.
However, here’s a little truth.
Designing a visual content experience to unlock your ROI potential runs deeper than just uploading images. You need to be strategic about your visual content design.
Optimizing your content image sizes might be one of the lesser-known strategies but it improves your customer experience significantly. But exactly how?
This blog post gives you the exact roadmap on how to create the right size images for your marketing irrespective of the channels.
What image size should you choose for your different marketing channels?
There is nothing that can annoy your audience more than a website that takes forever to load.
Not only does it eat on your audience’s attention but takes away your brand’s opportunity to interact with your audience.
The right image size can help to build your brand image while the wrong one can break it forever. This makes optimizing images in your marketing collateral so critical a job. For instance, on apps like TikTok, you should make sure to keep your visual content produced at an apt size. This will gradually drive more views to your TikTok videos.
To do it right, there are certain ground rules that every image optimization process follows, irrespective of the channel. While these are foundational, other rules are more personalized and applicable only to the specific channel.
In the following section, we demystify all the factors (general and channel-specific) that you need to consider to ensure that your visual content has the potential to go viral.
Determine your image quality
Proper image sizing is key to achieving high-quality visuals. To do this right, you need to ensure you understand how a digital image is measured.
The pixel is pivotal to understanding how your end image would look like. It is the building block of a picture. The higher the density of your pixel, the higher is the resolution and picture quality.
Define your image weight
Determining pixel density is the first step in defining how your end image would look like.
There’s more.
Ensuring a superior visual content experience comes at a cost of a heavier image file size. This means, optimizing your file size would be a key necessity to ensure that your site loading speed does not tamper with experience even with an audience with low internet bandwidth.
Figure out the size
Aspect is the factor that wraps up the general aspects of creating a highly optimized image.
Not only for a superior user experience but to ensure you are in line with the visual guidelines of the platform that you are using for distributing content.
No matter what orientation category you choose from, portrait or landscape, optimizing aspect ensures your end visuals don’t come out distorted. Here’s a quick hack to do this.
No matter what your original image size is you can easily resize images with a free tool like Pixelixe. All you have to do is upload your image, choose the resize dimensions and download the output.
Here the most common aspect ratios that you can use are 1:1, 3:2, 4:3, and 16:9. However, you can customize the ratio on the basis of the context of your image.
Now you have a clear idea of the foundations of image optimization.
So, let’s take a look at the strategies you can use to optimize images for each specific marketing channel.
Email image size
There are multiple factors that you need to undertake to optimize your email image size for performance. Here are a few optimization guidelines:
- Quality — Start with the dimensions of your image. Ideally, the optimal image size for any email revolves around 600px to 650 px, irrespective of consumption device. However, there can be exceptions with context.
Let’s say you have a product launch for which you want to create an email campaign that can double as a landing page. To give you a better idea of how these emails look in real life, here’s a collection of email templates that you can use to announce a new product launch.
So, the question here is how do you test the performance efficacy of these email campaign designs?
Here, you can always experiment with the size with your own custom dimensions. Perform a split test. The only factor that you need to be cognizant of is the static variant that your test needs to consider.
Your a/b test should have one variant of the standard practice and the other with your own custom sizing. This will give you a better idea of what performs the best. Depending on how your audience interacts with you, it is safe for you to stretch your image size for as much as 800px or 900px in width.
Load speed — Ensure that your file weight is optimized. It should never be more than 1MB. However, the lighter your email image size be, the better.
Conversions — Never miss out on including relevant and attention-grabbing alt text with your image. This will add up to the performance of your email images even when your subscribers have turned their images off. More so, your alt text might end up tempting your subscriber to hit the CTA button you have included in the email.
User-friendliness — Ensure you use the right image type. Stick with png or gif formats. No one wants to open up a heavy pdf copy on their emails.
Engagement — Ensure that you stick to the multiple-image policy. Using multiple images gives you more opportunities to hook your readers in your email. More so, the larger image can take up significant time to load. Your audience might give your email a pass by then. Stick to 4 images at a time. If that looks impossible, stick to at least two.
TikTok image size
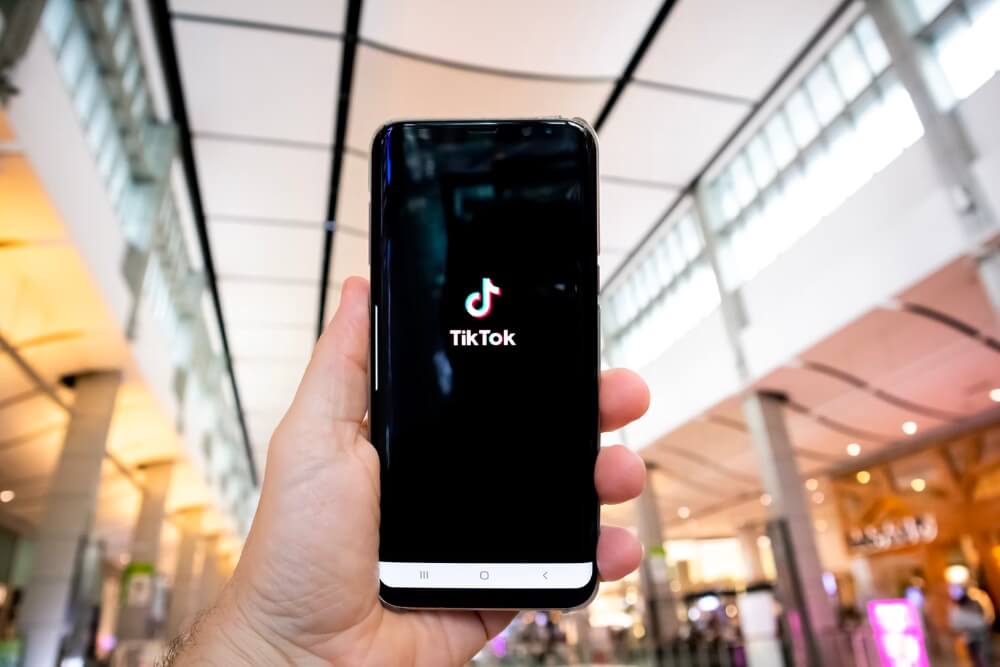
There is no consumer brand that can neglect the potential engagement and business that TikTok can give to their organization. However, a successful campaign in this multimedia dominant content creation platform starts with optimizing your visual content.
However, this is not all that you can do to improve your TikTok engagement. There is more. Click here to learn more strategies on how to increase your views on TikTok.
Let’s start with your profile photo. While the minimum profile photo size is 20px X 20px, it is always a good practice to optimize your picture for high resolution. For instance, using a striking black profile picture can make your account stand out and appear more professional.
To optimize video size, you need to adhere to 1080px X 1920 px. The aspect ratio for the platform is 1:1 or 9:16. For your TikTok video ads, you have three options to choose from: 720px by 1280px, 640px by 640px or 1280px by 720px.
Instagram (IG) image size
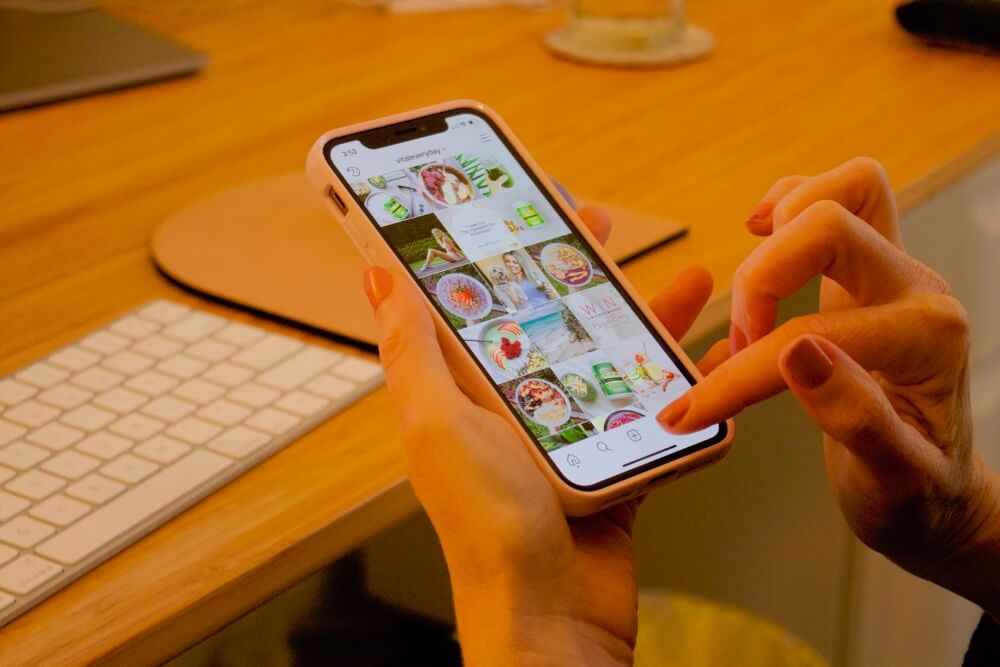
Instagram is yet another visual content dominant platform. Thus optimizing your image sizes for maximum engagement is mandatory. Here are the foundational strategies for general optimization:
Instagram follows the aspect ratio of 4:5 that extends till 9:1. For resolution, you need to make them square images of 500px by 500px resolution.
Like Facebook and Instagram has a defined guideline of text on its images. The visuals can have up to 2200 characters covering roughly a 20% of the entire image. However, their official guidelines suggest that you limit the text to 290 characters. This needs careful planning.
From here things get a little tricky. The platform has been known for supporting square images since its day of launch. Basically, you can create a pixelated view of your visual content using multiple storyboards here.
Think of it like a jigsaw puzzle. But to get this right, you would need careful planning.
Instagram profile photo size
Instagram profile photos have a limit of 320px by 320 px. That is the upper limit. The best practice would be to create a photo that is lower than the permitted size.
Yet another element to notice here would be the shape that your profile picture is displayed to anyone on the platform. Although a square image, the profile picture is displayed in a circle. Thus, make sure your picture focuses on the right object. Fai to do so and you will get a distorted image.
Instagram feed and thumbnails image size
For feed images, size revolves anywhere around 1080px in width and 566px, 1080px to 1350px in height depending upon what aspect you choose for your image. It can be landscape, portrait, or square. The aspect ratio here is between 1.91:1 and 4:5. For thumbnails, it is anywhere around 161px by 161px.
Bonus tip?
For IG stories, stick to an image size of 1080 by 1920 pixels while maintaining an aspect ratio of 9:16.
Conclusion
Creating the right image size is a great strategy. Yet, it is only the starting point of your marketing venture. For a successful marketing campaign, you would need to optimize a lot more than just images.
Sure, the above tips and tactics will boost the power of your visual content. However, remember.
Digital marketing is a dynamic industry. What works today might not work tomorrow.
This makes a/b tests a critical strategy to ensure sustainable marketing performance for your brand.
Be it your image size or content development strategy, always keep listening to what your audience has to say.
Keep testing and innovating.